Unleashing Multi-Device Audio: A Masterclass on the Turtle Beach Stealth Pro II
Overview
The Turtle Beach Stealth Pro II isn't just another wireless headset—it's a breakthrough for multi-device audio enthusiasts. Unlike its predecessors, this second-generation model shatters the wire-only paradigm. It allows simultaneous connections to multiple devices over low-latency 2.4GHz wireless using USB-A dongles. Whether you're juggling a gaming console, PC, or mobile device, this headset acts as a versatile hub, letting you switch audio sources without unplugging or fumbling with Bluetooth pairing. This guide will walk you through everything you need to know to harness its full potential, from initial setup to advanced configuration. By the end, you'll be seamlessly hopping between devices like a pro.
Prerequisites
- Turtle Beach Stealth Pro II headset (fully charged)
- USB-A dongle kit (included; contains multiple USB-A transmitters)
- Devices that support USB-A audio input (PC, PlayStation, Xbox, Nintendo Switch dock, etc.)
- A USB-C to USB-A adapter (optional, for devices lacking USB-A ports like some laptops or tablets)
- The Turtle Beach Audio Hub app (recommended for firmware updates and audio tuning)
Step-by-Step Instructions
Step 1: Unpack and Identify Components
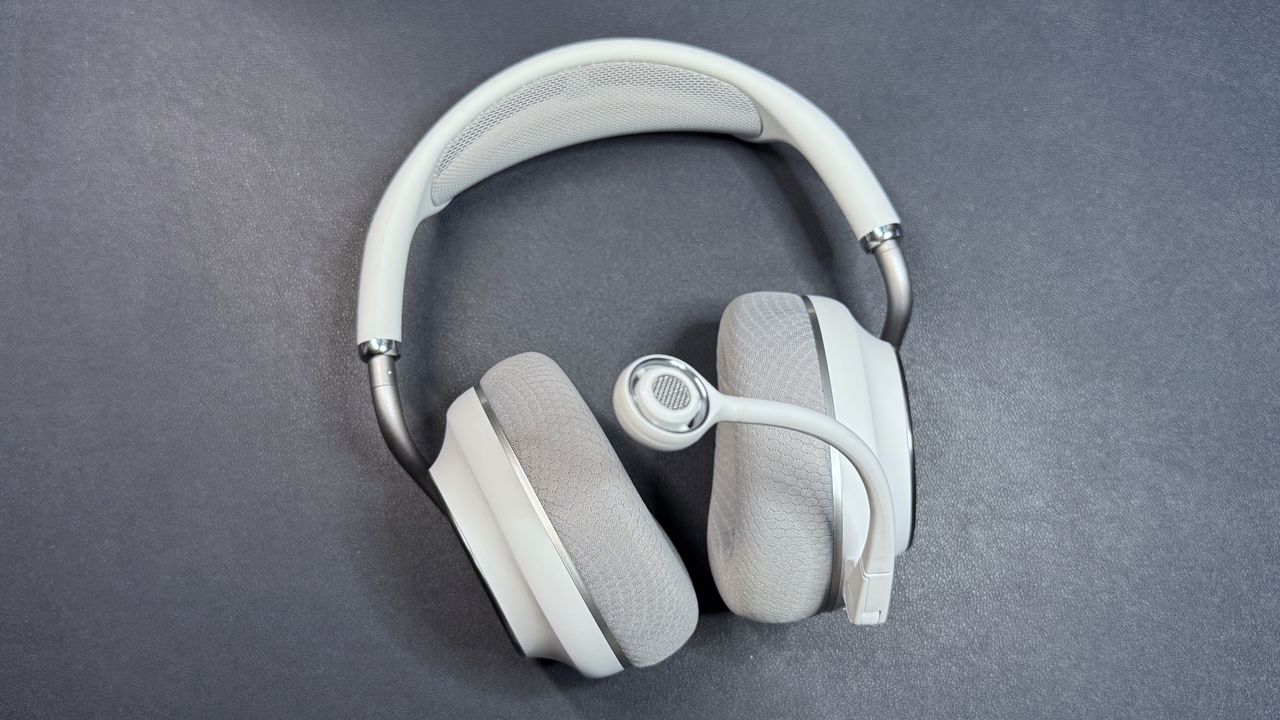
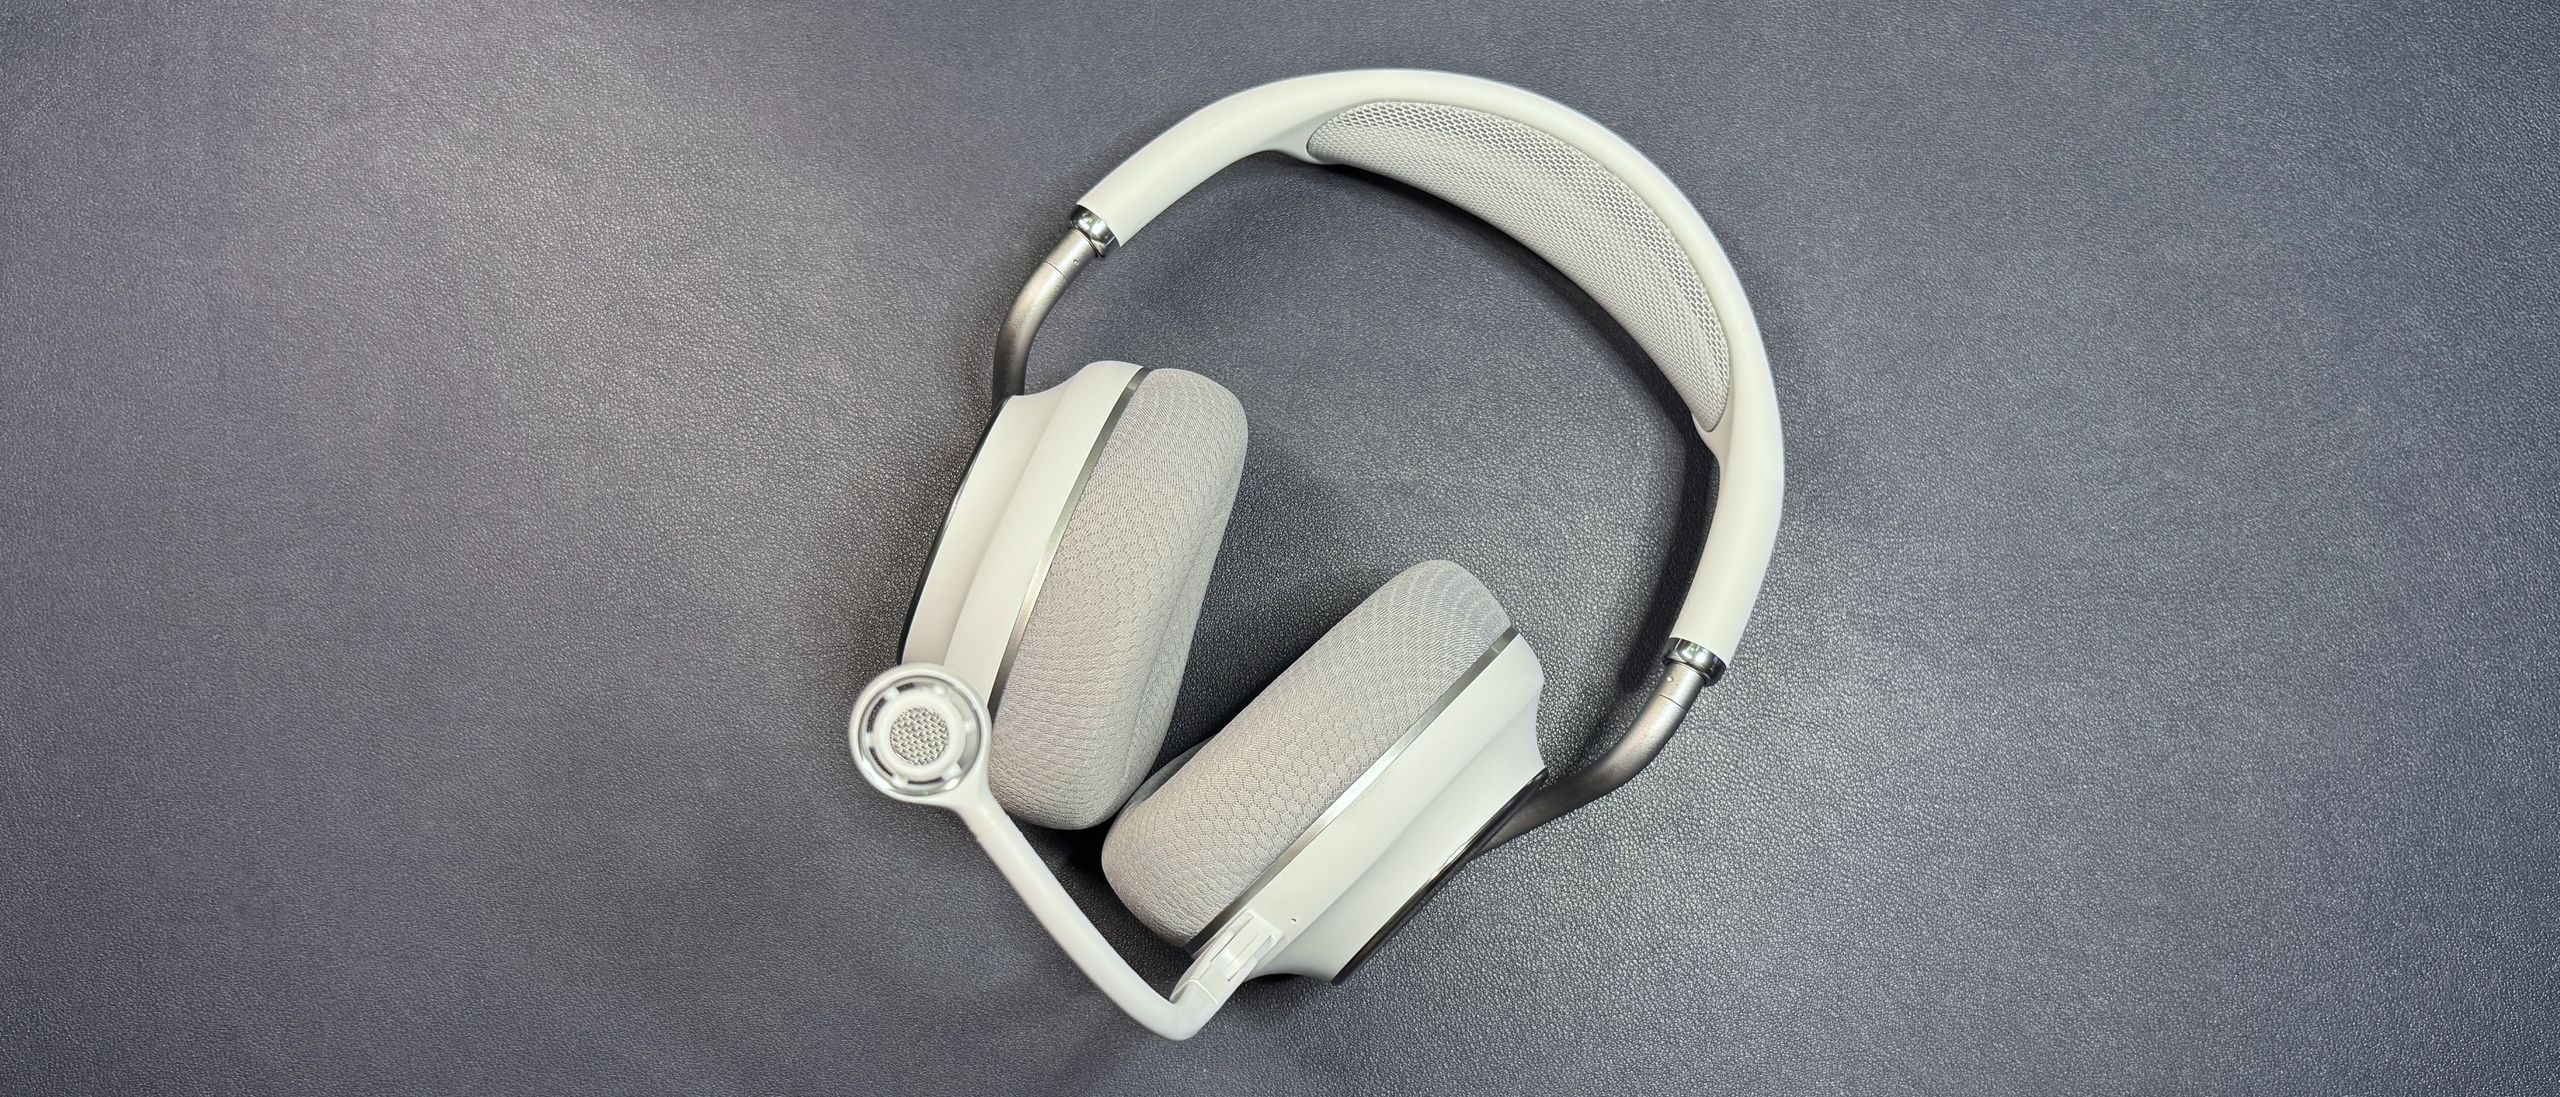
Open the box and locate the headset, a set of three USB-A dongles (each identical), a USB-C charging cable, and the quick setup guide. Each dongle can pair independently with the headset, enabling simultaneous 2.4GHz connections to up to three devices. Unlike Bluetooth multipoint, these dongles use the low-latency 2.4GHz band for lag-free audio, which is ideal for gaming and video calls.
Step 2: Install the Audio Hub App
Download the Turtle Beach Audio Hub from the official website or app store (Windows/macOS). While not strictly necessary, the app provides crucial firmware updates, custom equalizer profiles, and battery monitoring. Connect the headset via USB-C to your computer for initial setup. Launch the app and check for updates—keeping firmware current ensures compatibility with all dongles.
Step 3: Pair the Headset with Each Dongle
The headset comes pre-paired with one dongle out of the box. To pair additional dongles: power on the headset, then insert an unpaired dongle into a device (device must be powered on). Press and hold the Link button on the dongle (located on its side) for 2 seconds until its LED blinks rapidly. Simultaneously, hold the Power/Wi-Fi button on the headset for 3 seconds to enter pairing mode. The headset should connect within 10 seconds; a solid LED on the dongle indicates success. Repeat for each dongle you intend to use.
Step 4: Connect Devices to Their Dongles
Plug each paired dongle into a separate device (e.g., PC dongle into USB-A of your gaming rig, another into a PlayStation 5, and another into a Nintendo Switch dock). The headset will automatically detect active audio sources. By default, the headset prioritizes the most recently active device. To manually switch, press the QuickSwitch button (located on the left earcup) to cycle through connected sources. You can also assign a priority device in the Audio Hub app.
Step 5: Optimize Wireless Performance
2.4GHz signals can experience interference from Wi-Fi routers or USB 3.0 ports. For best results, plug dongles into USB 2.0 ports if available, and keep them at least 6 inches away from external antennas. Within the Audio Hub, adjust the Wireless Channel setting to Auto or manually select a less congested channel (channels 1-6 are recommended). Test by streaming audio from all connected devices simultaneously; the headset should handle mixing from multiple sources without dropout.
Step 6: Configure Audio Profiles
Launch the Audio Hub app while the headset is connected (via USB-C or wirelessly through the dongle on your computer). Create custom equalizer profiles for each device. For example, boost bass for gaming, enhance mids for podcasts, and flatten everything for music. Profiles sync wirelessly to the headset and can be assigned to specific dongles. Use the Game Mode toggle to prioritize latency over quality when gaming.
Step 7: Manage Battery Life
The Stealth Pro II offers up to 25 hours of playback across all simultaneous connections. The headset charges via USB-C, and a quick 15-minute charge provides 5 hours of use. To extend battery life, reduce volume and disable RGB lighting (if your model includes it) in the Audio Hub. You can also use a single dongle to conserve power—the headset’s multi-device feature doesn’t drain battery when fewer dongles are paired.
Common Mistakes and How to Avoid Them
Mistake 1: Not Updating Firmware
Many users experience intermittent connectivity because they skip firmware updates. Always update via the Audio Hub before first use. Without updates, older dongles may refuse to pair with newer headset batches.
Mistake 2: Overloading USB Ports with Dongles
Inserting multiple dongles into a single USB hub can cause signal interference. Each dongle should have its own direct USB-A port on the device. If your device has limited ports, use a powered USB hub (not a passive one) to ensure stable power delivery.
Mistake 3: Forgetting to Prioritize Audio Sources
Without setting a priority device, the headset might default to the last audio source played, which could be a device not currently in use. Open the Audio Hub and assign a primary device (e.g., gaming PC) so that even if you play audio on another device, the headset returns to the priority device when idle.
Mistake 4: Misunderstanding the QuickSwitch Button
Pressing QuickSwitch cycles through all connected dongles—it doesn't mute or unmute. If you can't hear audio, check the dongle's LED: solid means connected; blinking means pairing mode or no link. If it's solid but no sound, verify that the device's audio output is set to the headset's dongle (check system sound settings).
Mistake 5: Ignoring Battery Indicators
The headset doesn't provide an audible low-battery beep; only the LED on the earcup flashes red. Many users run out of battery mid-session. Check battery levels through the Audio Hub or note the LED color: green (75-100%), yellow (25-75%), red (<25%). Set a reminder to charge every few hours of heavy use.
Summary
The Turtle Beach Stealth Pro II redefines wireless versatility by enabling simultaneous 2.4GHz connections to multiple devices via USB-A dongles. This guide covered prerequisites—charging, dongles, and devices—followed by a detailed walkthrough: pairing each dongle, connecting to separate machines, optimizing wireless channels, configuring audio profiles, and managing battery. Key pitfalls include skipping firmware updates, overloading USB hubs, neglecting priority settings, misusing the QuickSwitch button, and ignoring battery indicators. Mastering these steps ensures lag-free audio switching across your gaming console, PC, and portable devices, making the Stealth Pro II as adaptable as your lifestyle.